Message transport là chức năng trong Microsoft Exchange Server chịu trách nhiệm vạn chuyển email. Để triển khai và quản lý Exchange Server message transport, bạn cần hiểu quy trình tổng thể được sử dụng để truyền tải email và cách khắc phục sự cố.
Để định cấu hình message transport , bạn phải biết cách định cấu hình accepted domains, send connectors, và receive connectors. Bạn cũng nên biết cách sử dụng message moderation và message journaling. Cuối cùng, để kiểm soát luồng tin nhắn, bạn có thể triển khai các Transport rules và data loss prevention (DLP) policies.
Bài lab sử dụng 3 máy DC1, EX1, EX2.
Exercise 1: Cấu hình message transport
Task 1: Tạo send connector cho Internet mail delivery
- Tại , vào Internet Explorer, trên thanh address nhập vào https://mail.Adatum.com/ecp, ấn Enter
- Logon vào Exchange Admin Center bằng user Adatum\Administrator
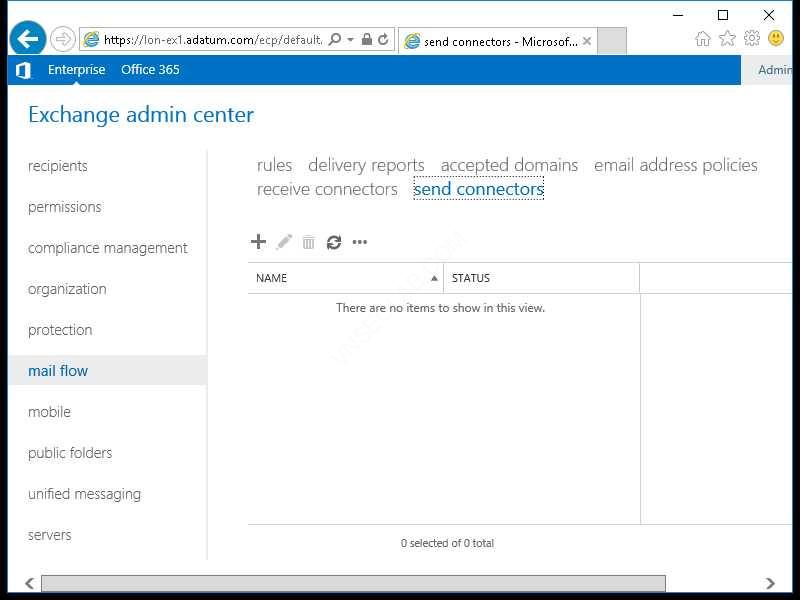
- Tại EAC, chọn mail flow, chọn tab send connectors
- ấn New (+)
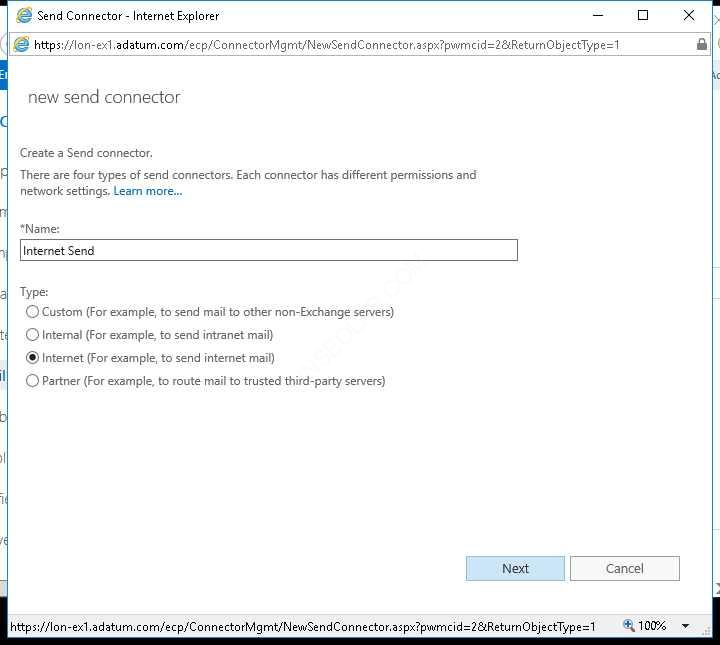
5. Cửa sổ new send connector, trong phần Name nhập vào Internet Send
6. Chọn option Internet (For example, to send internet mail), ấn Next
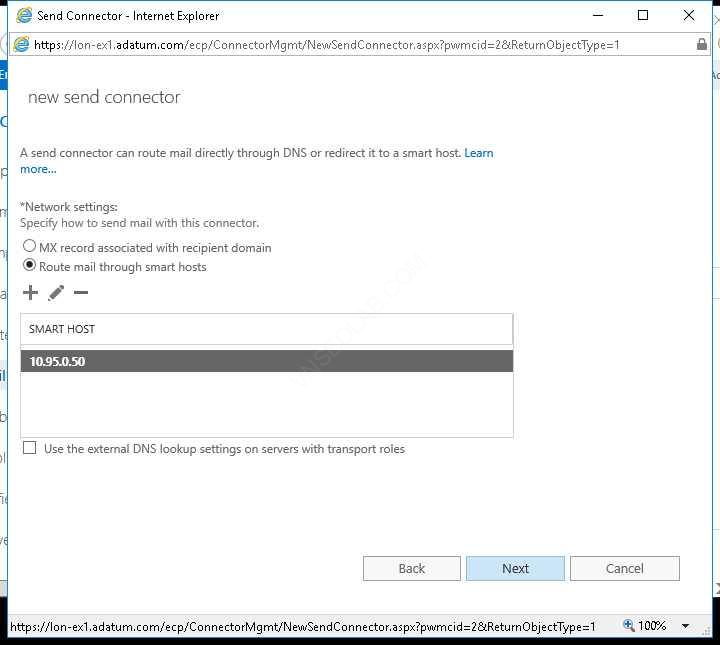
7. Cửa sổ new send connector, chọn option Route mail through smart hosts, ấn Add (+).
8. Cửa sổ Add smart host, nhập vào 10.95.0.50, ấn Save
9. Trở về Cửa sổ new send connector, ấn Next
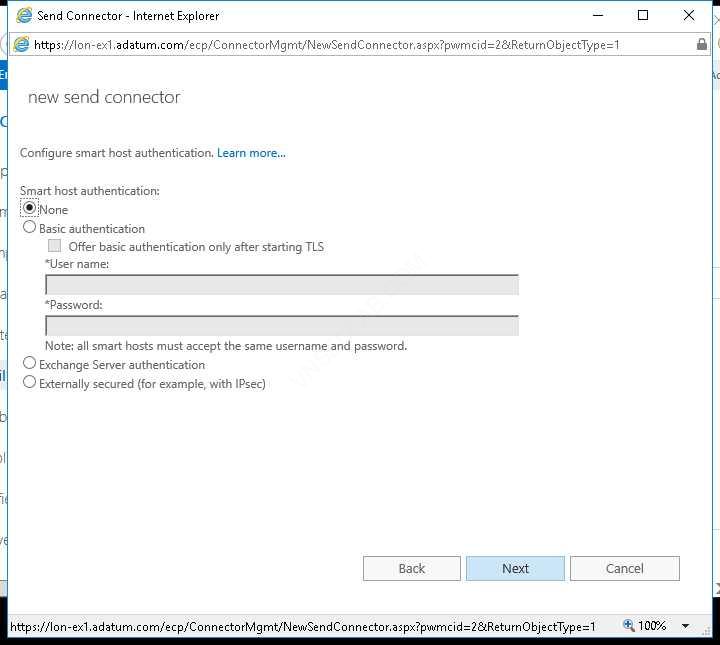
10. Trong phần Smart host authentication, chọn None, ấn Next
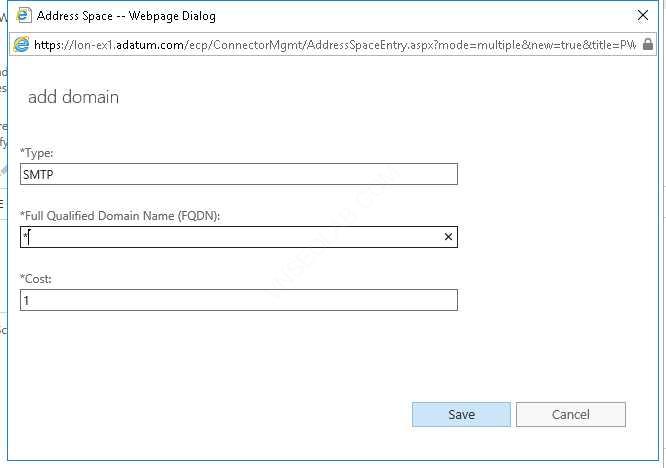
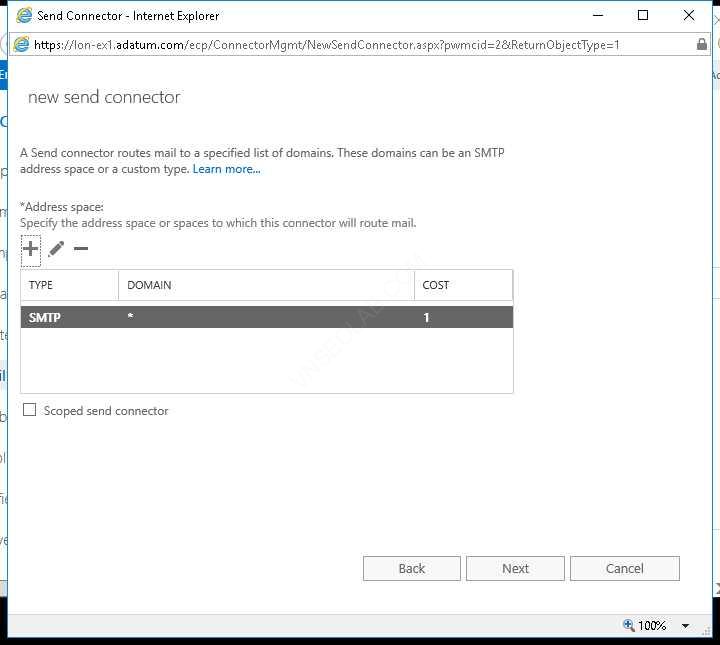
11. Trong phần Address space, ấn Add
12. Cửa sổ add domain, trong phần Full Qualified Domain Name (FQDN) nhập vào dấu *, ấn Save
13. Trở về cửa sổ new send connector, ấn Next
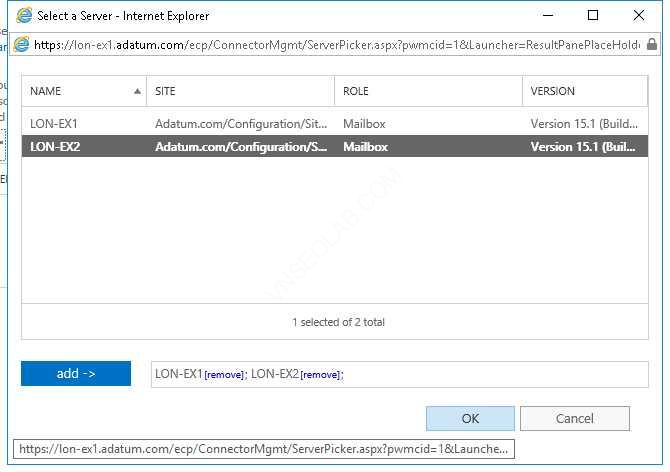
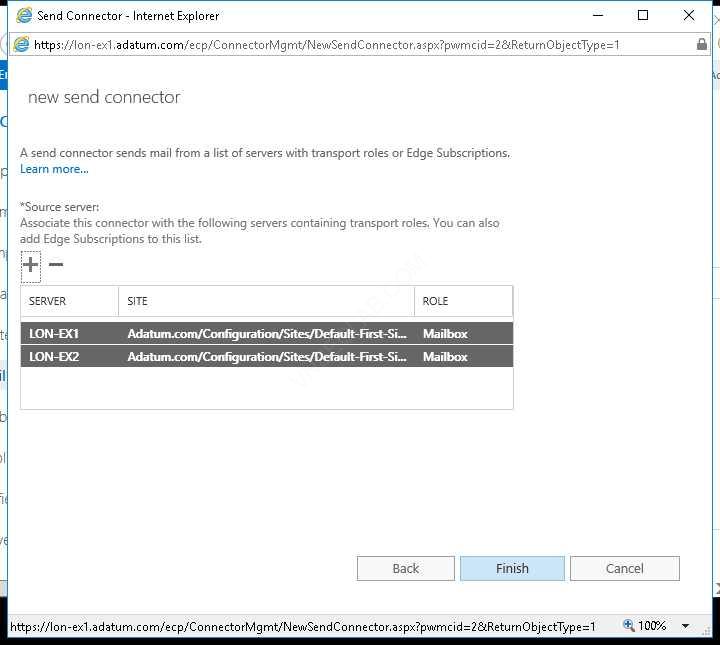
14. Trong phần Source server, ấn Add (+)
15. Chọn và EX2, ấn add, và ấn OK.
16. Trở về cửa sổ new send connector, ấn Finish
Task 2: Tạo receive connector cho anonymous relay
- Tại Exchange Admin Center, chọn tab receive connectors
- Trong phần Select server, chọn EX1.Adatum.com, ấn New (+).
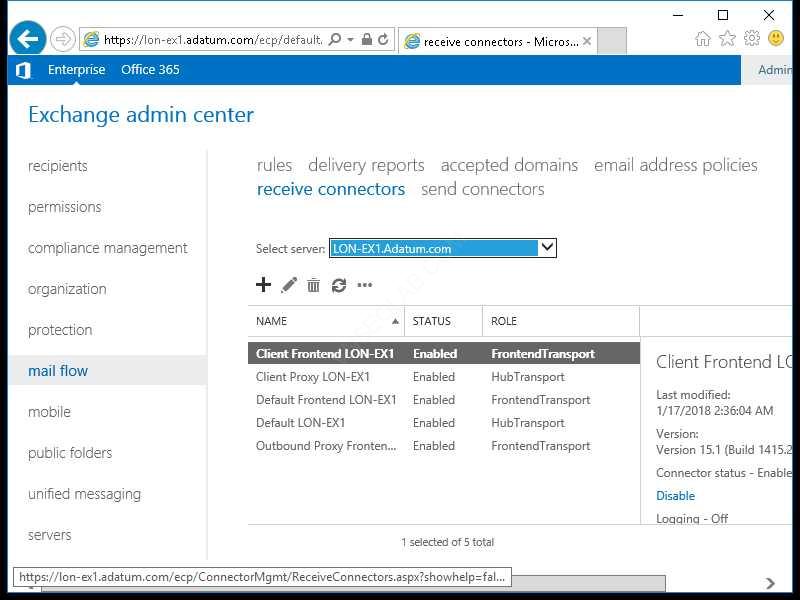
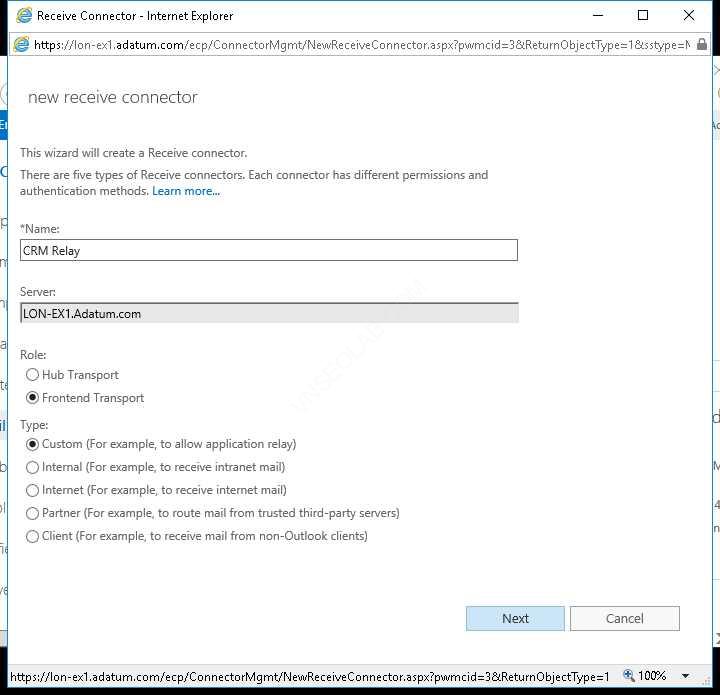
3. Cửa sổ new receive connector, trong phần Name nhập vào CRM Relay
4. Trong phần Role, chọn option Frontend Transport.
5. Trong phần Type, chọn option Custom (For example, to allow application relay), và ấn Next
6. Trong phần Network adapter bindings, kiểm tra xem có (All available IPv4) và port là 25 tiếp tục ấn Next
7. Trong phần Remote network settings, chọn 0.0.0.0-255.255.255.255, ấn Remove (–)

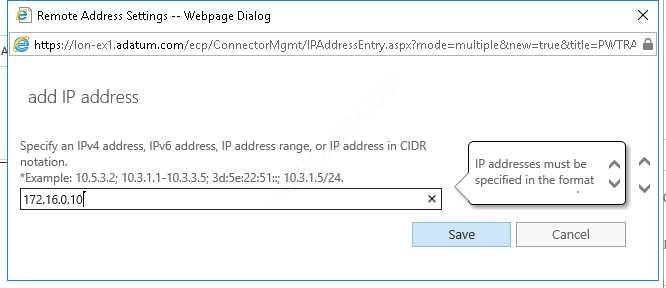
8. Sau đó ấn add (+)
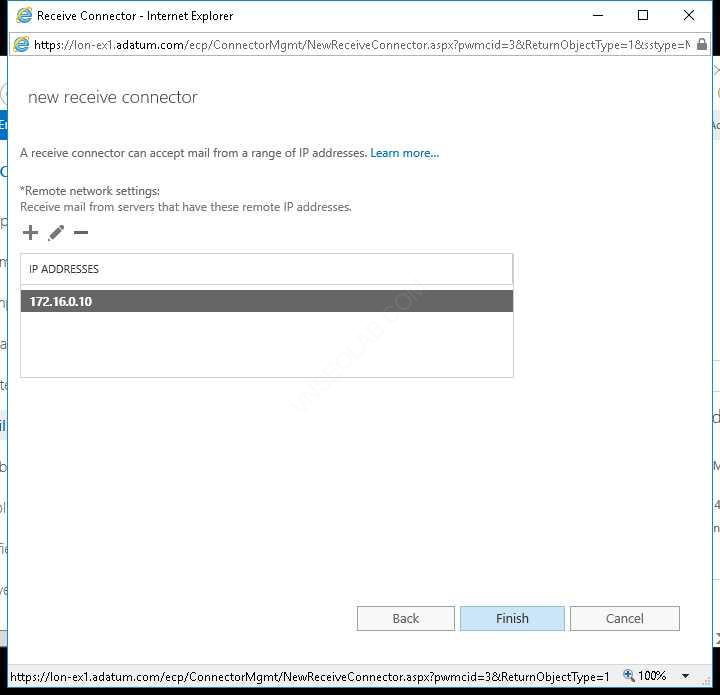
9. Cửa sổ add IP address nhập vào 172.16.0.10, ấn Save.
10. Trở về cửa sổ new receive connector ấn Finish
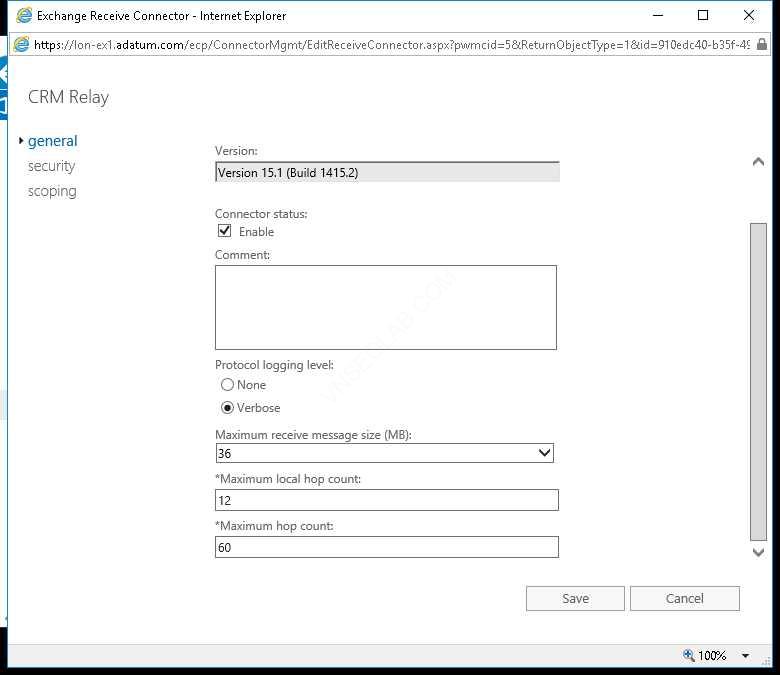
11. Tại EAC, double-click vào CRM Relay
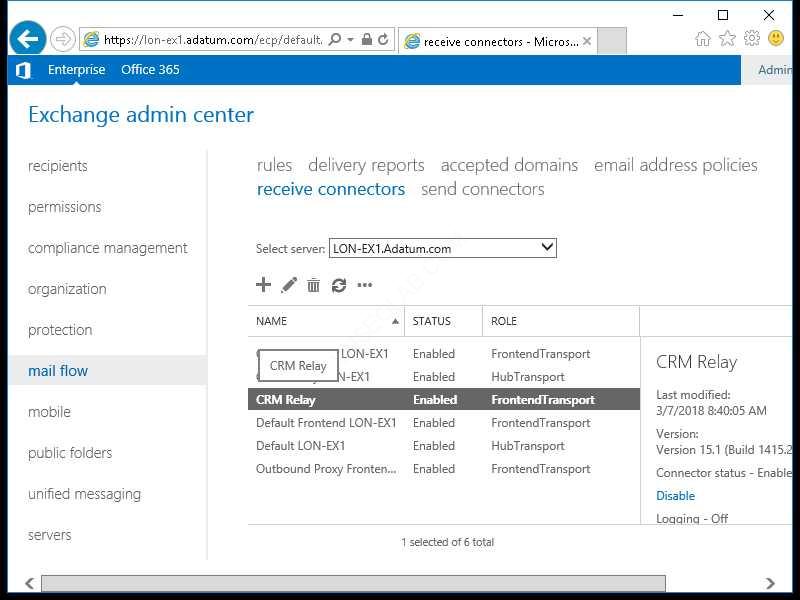
12. Cửa sổ CRM Relay,trong phần Protocol logging level, chọn option Verbose
13. Chọn tab security, trong phần Authentication, chọn checkbox Externally secured (for example, with IPsec)
14. Trong phần Permission groups, chọn checkbox Exchange servers và Anonymous users, ấn Save

15. Đóng Exchange Admin Center.
Exercise 2: Troubleshooting message delivery
Task 2: Kiểm tra receive connector đã được dùng để nhận thư
- Tại máy Ex1 , vào File Explorer
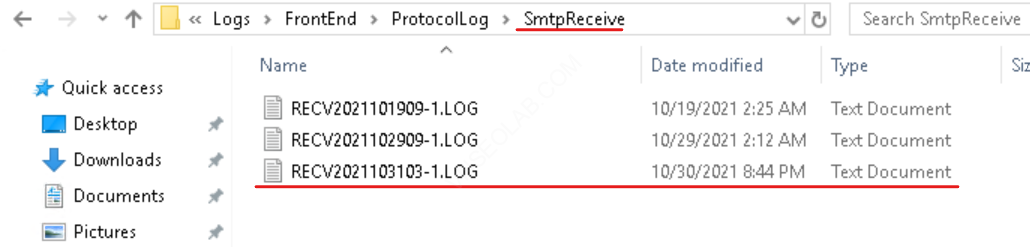
- Vào folder C:\Program Files\Microsoft\Exchange Server \V15\TransportRoles\Logs\FrontEnd\ProtocolLog\SmtpReceive
- Tại folder SmtpReceive, Double-click vào protocol log file có ngày mới nhất, để xem nhật ký protocol log mới nhất
4. Tại Notepad, ấn Ctrl+F, cửa sổ Find, nhập vào CRM, ấn Find Next.
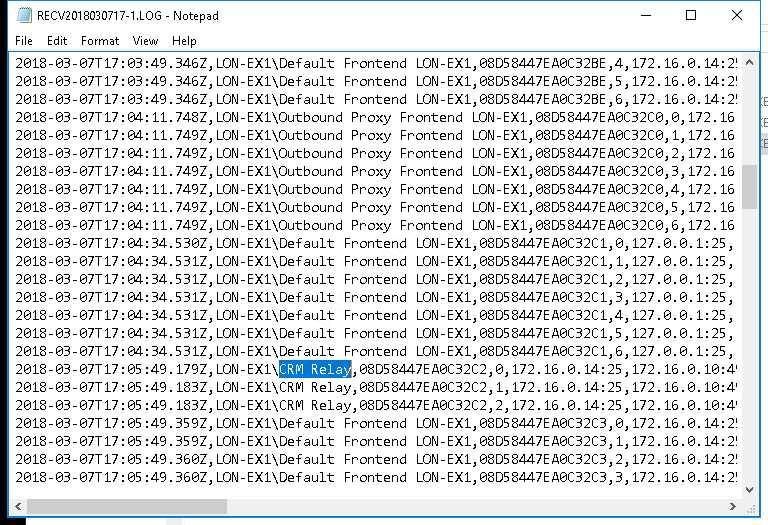
5. Có thể kéo thanh trượt sang phải để xem các SMTP commands dùng để gửi message từ crm@adatum.com đến test@contoso.com
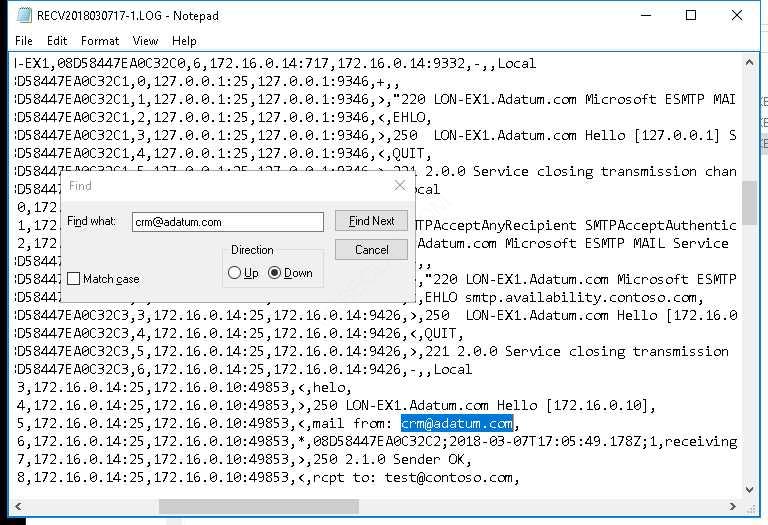
6. Đóng Notepad và File Explorer.
Task 3: Kiểm tra send connector đã được dùng để gửi message
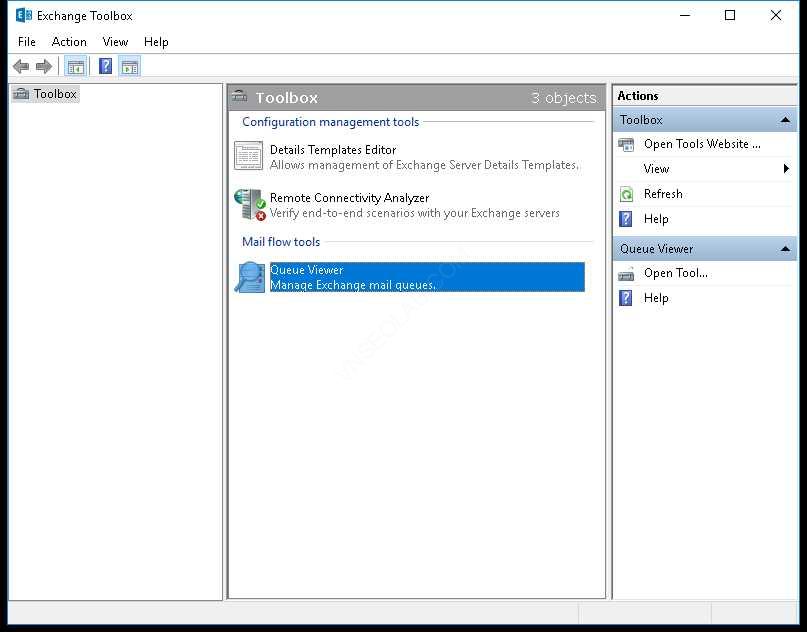
- Tại , vào Start, chọn Microsoft Exchange Server 2016/2019, chọn Exchange Toolbox
- Tại Exchange Toolbox, double-click Queue Viewer
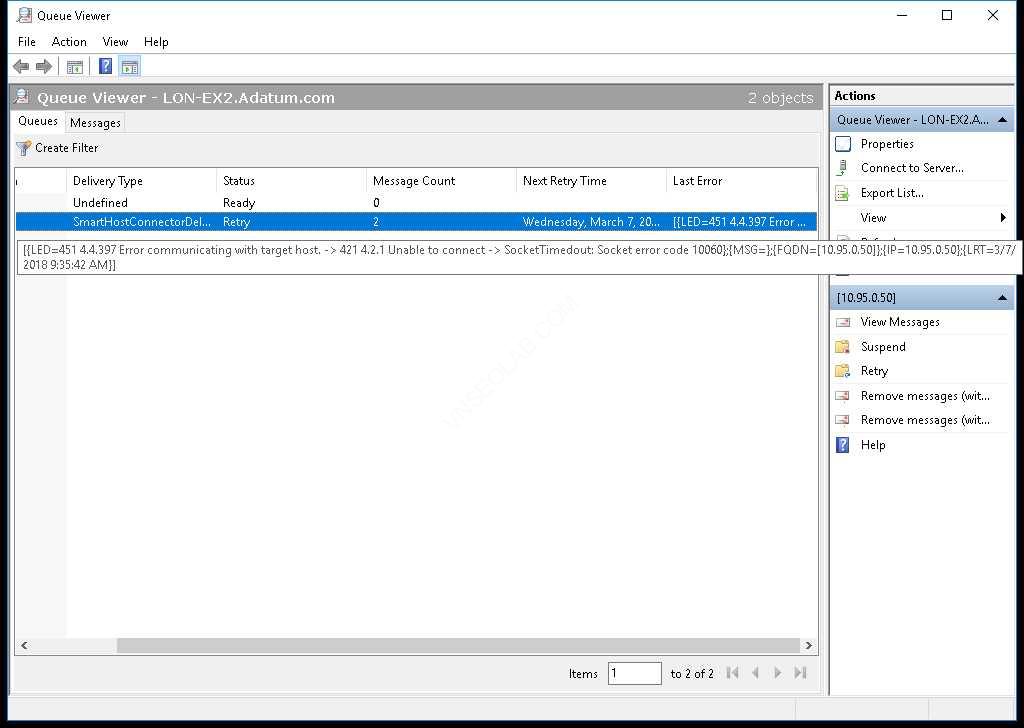
3. Tại Queue Viewer, tại cột Last Error, xem error message của hàng đợi 10.95.0.50.(nếu không thấy error message vào EX2 thực hiện lại bước 1)
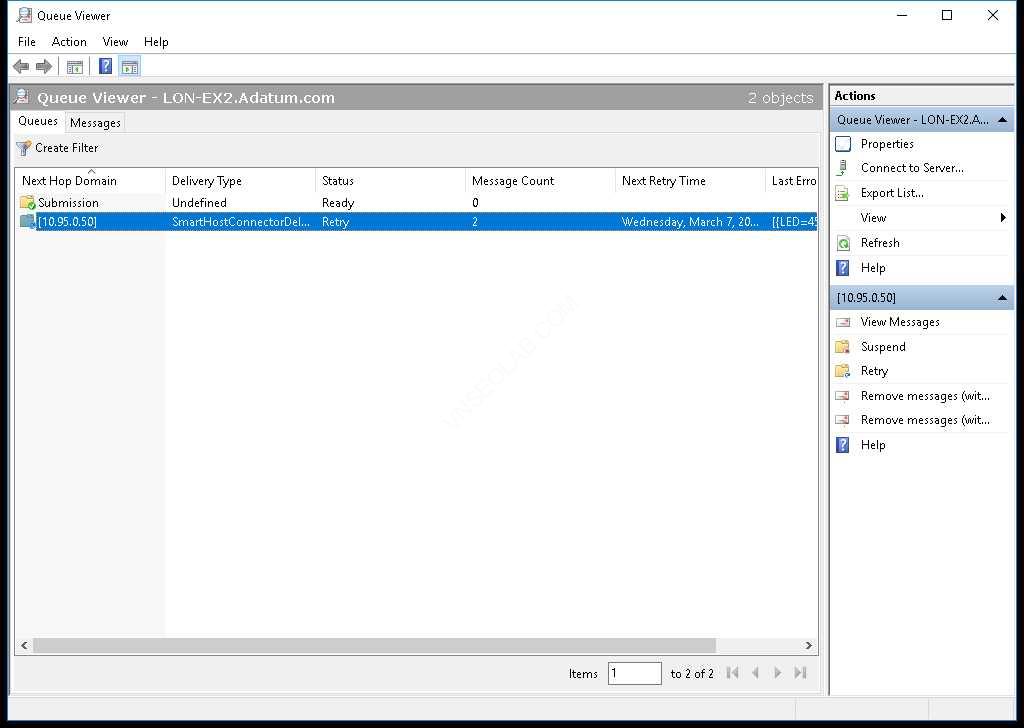
4. Double-click vào hàng đợi 10.95.0.50 để xem messages bên trong
5. Double-click vào message để xem properties của message
6. Cửa sổ Test from CRM properties, ấn Cancel.
7. Phải chuột vào message, chọn Remove (without sending NDR).
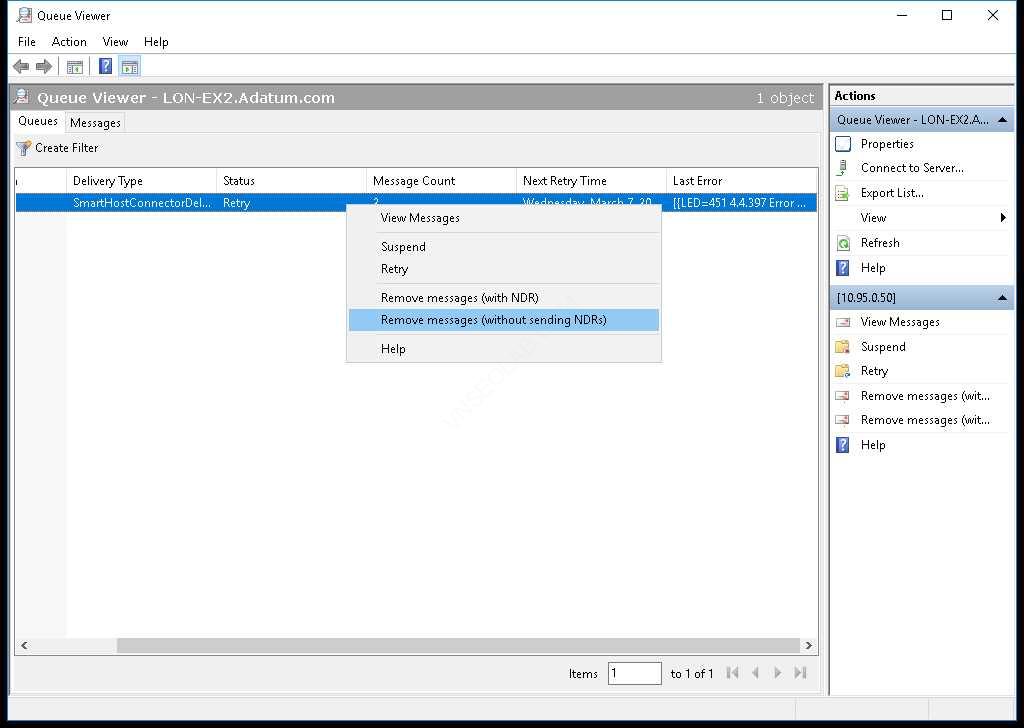
8. Cửa sổ Bulk Action, click OK.
9. Cửa sổ Remove (without sending NDR), click Yes.
10. Đóng Queue Viewer.
Exercise 3: Cấu hình disclaimer transport rule
Task 1: Tạo disclaimer transport rule
- Tại , vào EAC, chọn mail flow, và chọn tab rules.
- Chọn New, và chọn Create a new rule
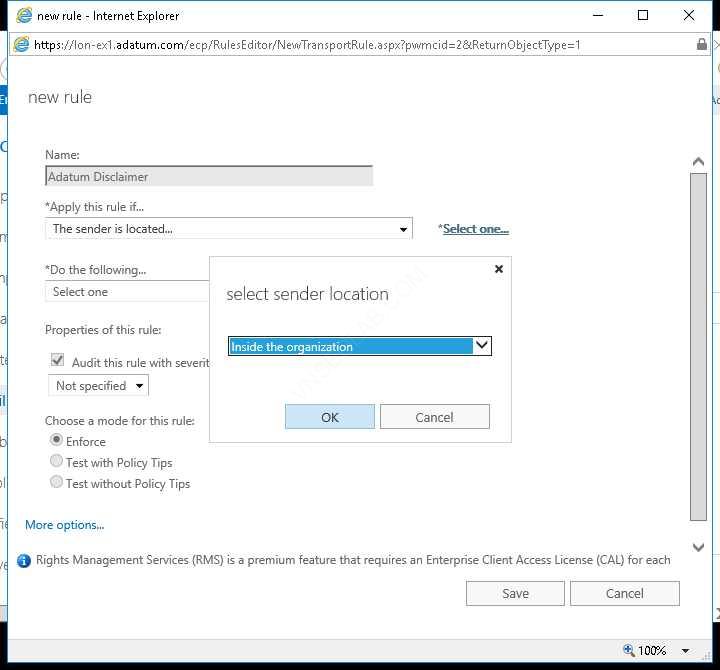
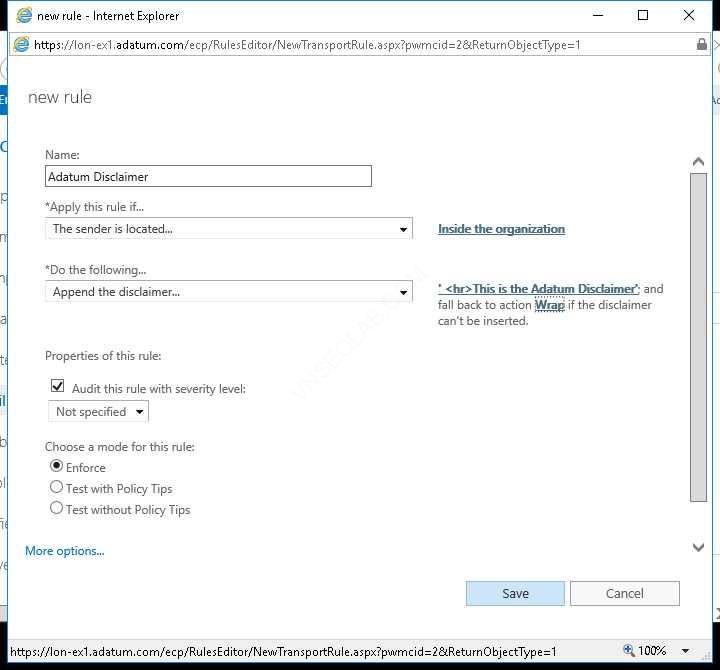
- Cửa sổ new rule, trong phần Name nhập vào Adatum Disclaimer,
- Trong phần Apply this rule if, Chọn The sender is located…, bên phải chọn Select One… cửa sổ select sender location, chọn Inside the organization, ấn OK.
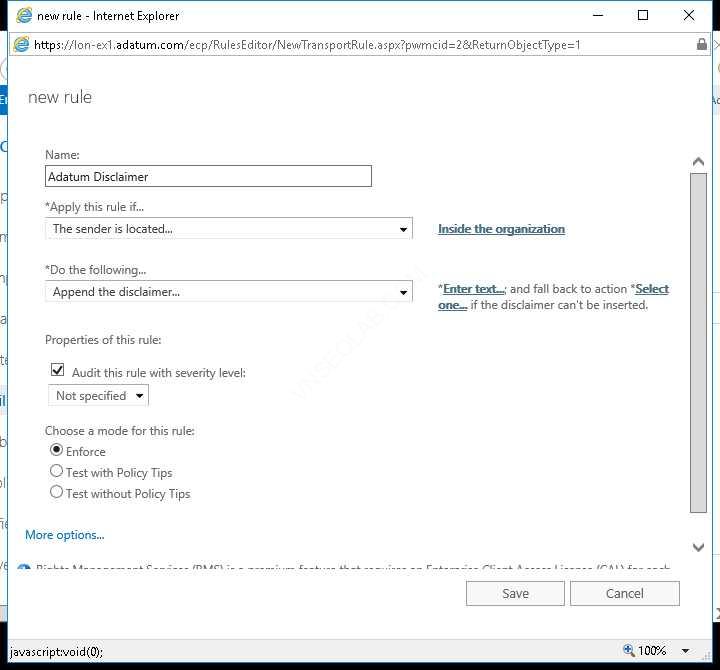
5. Trong phần Do the following chọn Append the disclaimer, chọn Enter text.
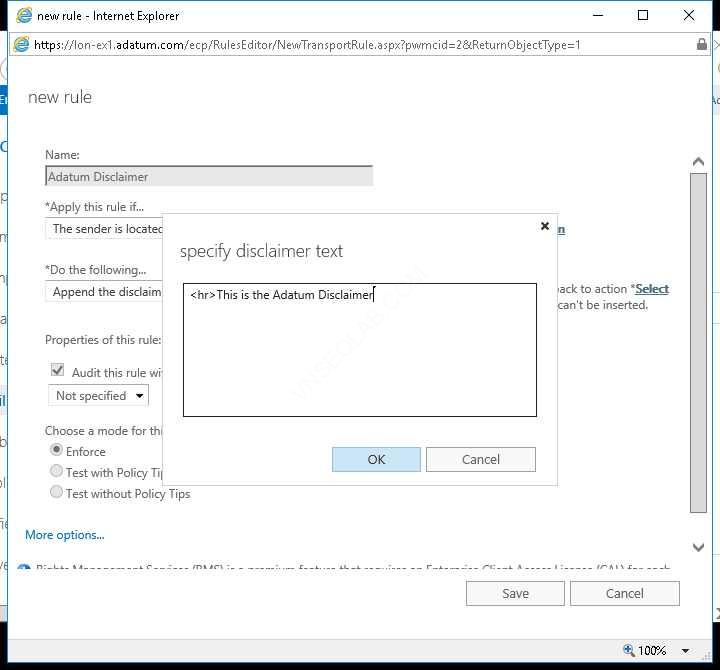
6. Cửa sổ specify disclaimer text nhập vào <hr>This is the Adatum Disclaimer, và ấn OK.
7. Chọn Select one tiếp theo, Cửa sổ specify fallback action, chọn Wrap, ấn OK
8. Trong phần Choose a mode for this rule, chọn Enforce. Ấn Save
Task 2: Kiểm tra disclaimer transport rule
- Tại DC1, vào Internet Explorer, truy cập vào https://mail.Adatum.com/owa, ấn Enter
- Sign in vào OWA bằng user Adatum\Elvis
- Trong phần Time zone chọn (UTC -0800) Pacific Time (US & Canada), ấn Save.
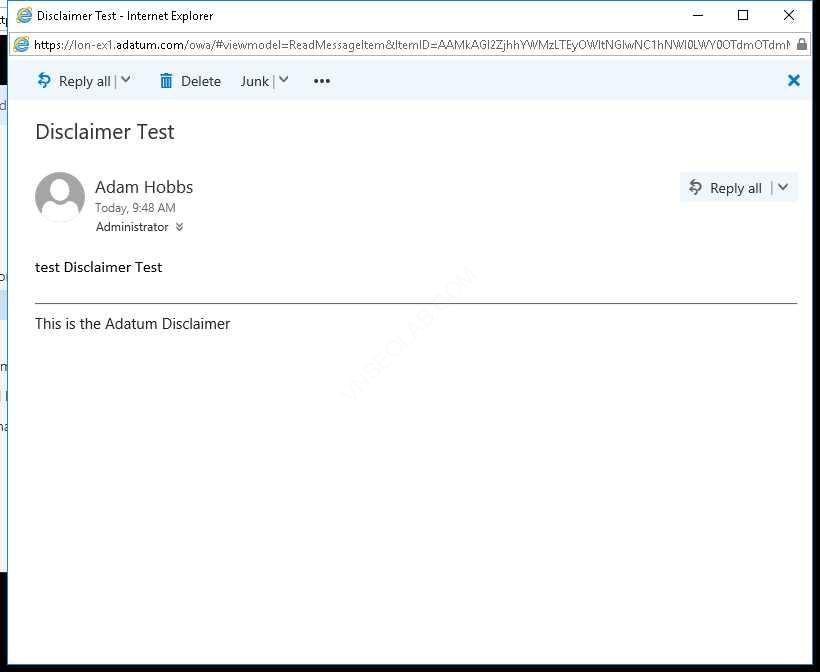
- Ấn New, gửi mail cho abby@adatum.com, trong phần Subject nhập vào Disclaimer Test.
- Trong phần body, nhập vào test Disclaimer text , ấn Send
- Đóng Internet Explorer
- Qua máy , vào Internet Explorer, mở tab mới
- Vào trang https://mail.adatum.com/owa, với quyền của abby.
- Kiểm tra nhận được mail của Elvis gửi, trong đó có phần disclaimer text
Exercise 4: Cấu hình DLP policy cho financial data
Task 1: Thiết lập DLP policy
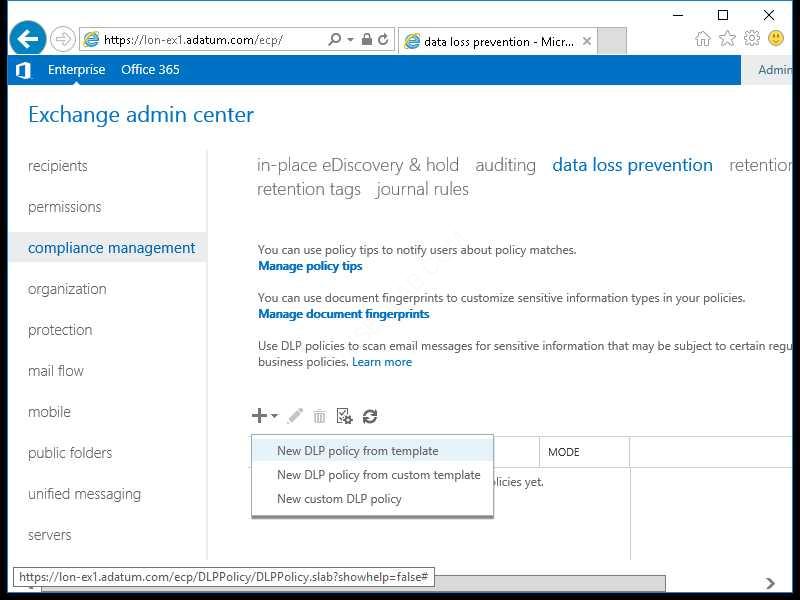
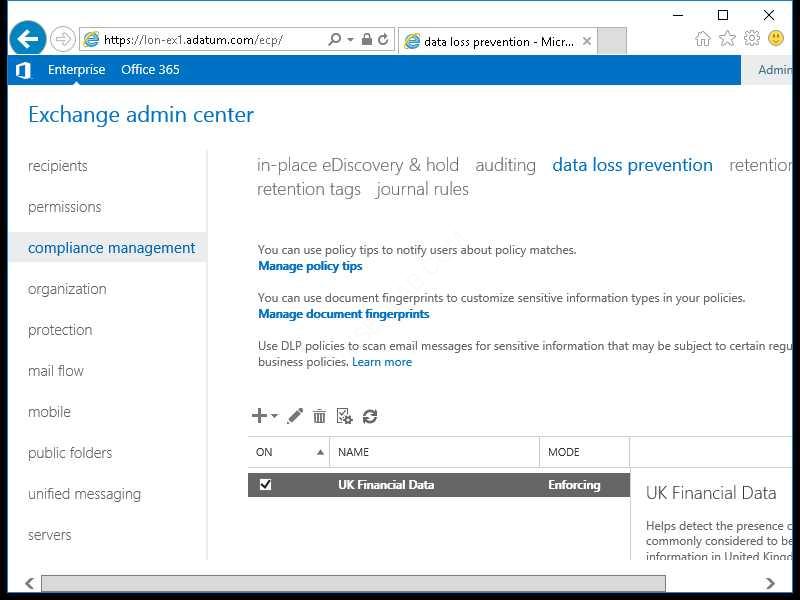
- Tại , vào EAC, chọn compliance management, chọn tab data loss prevention.
- Click Add (+), vào chọn New DLP policy from template
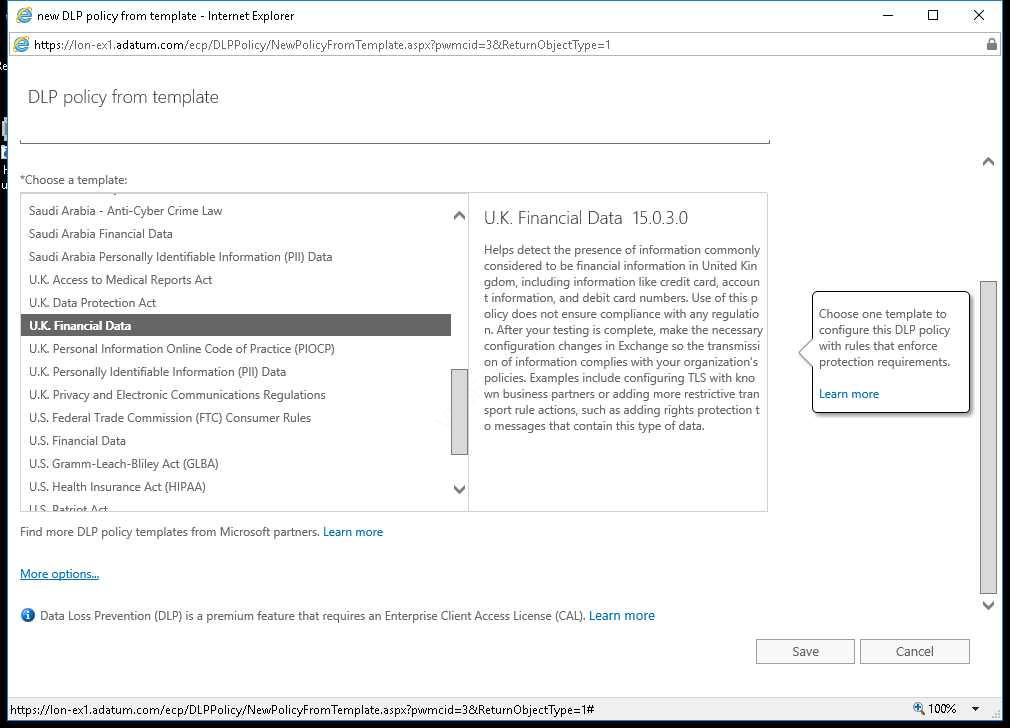
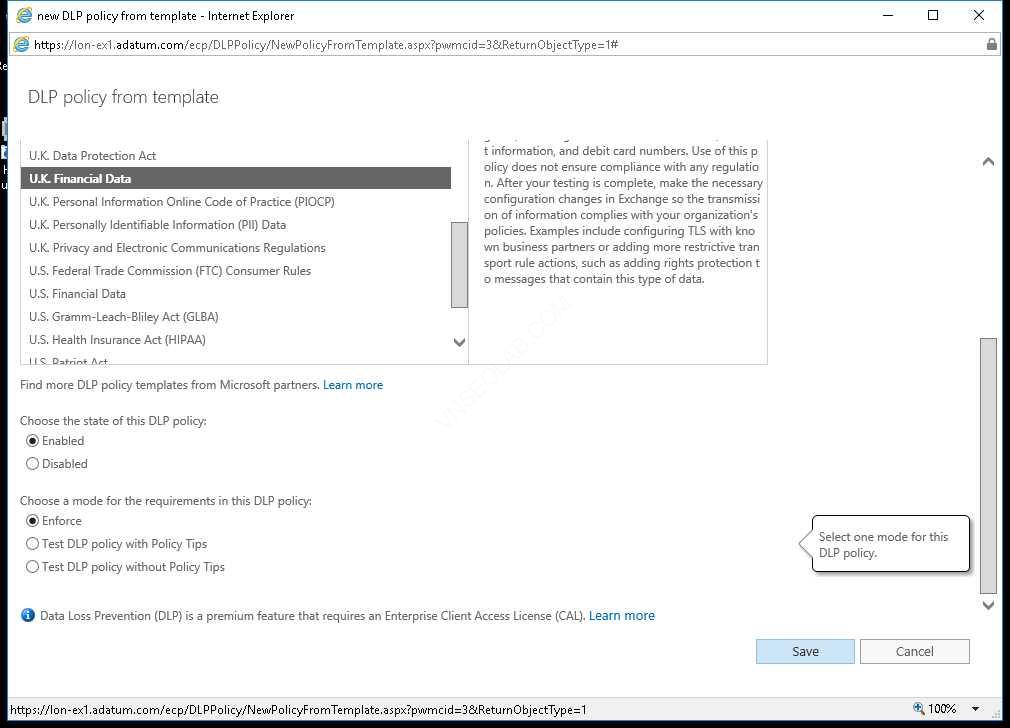
3. Cửa sổ DLP policy from template, trong phần Name nhập vào UK Financial Data.
4. Trong phần Choose a template chọn U.K. Financial Data
5. Ấn More option
6. Trong phần Choose the state of this DLP policy, chọn option Enabled
7. Trong phần Choose a mode for the requirements in this DLP policy, chọn option Enforce.
8. Ấn Save
Task 2: Xem lại các thiết lập DLP policy
- Tại , vào EAC, double-click vào UK Financial Data policy
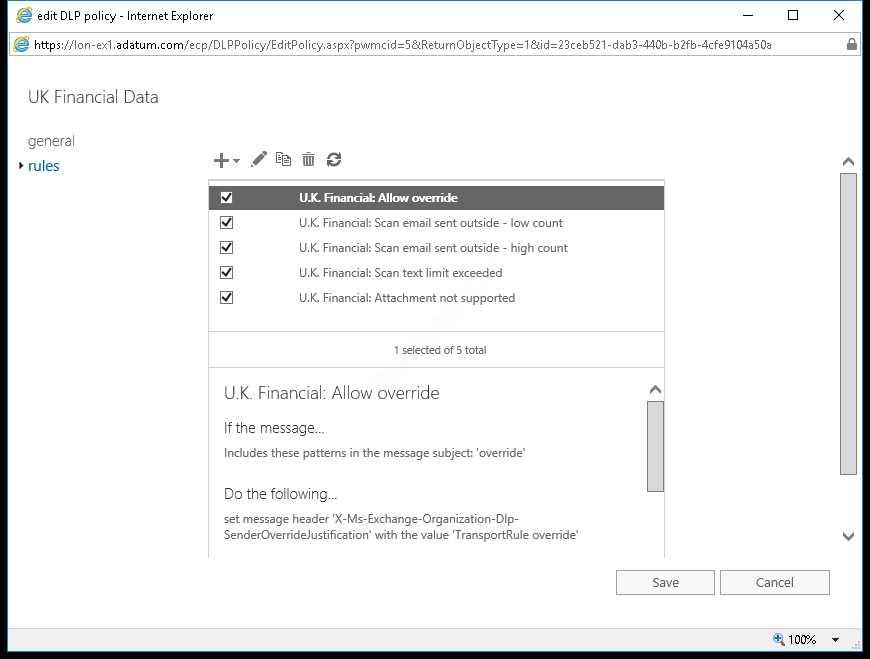
2. Cửa sổ UK Financial Data, chọn tab rules.
3. Chọn U.K. Financial: Allow override, và đọc mô tả.
4. Double-click U.K. Financial: Scan email sent outside – low count
5. Cửa sổ U.K. Financial: Scan email send outside – low count, chọn ‘Credit Card Number’ or ‘EU Debit Card Number’ or ‘SWIFT Code’.
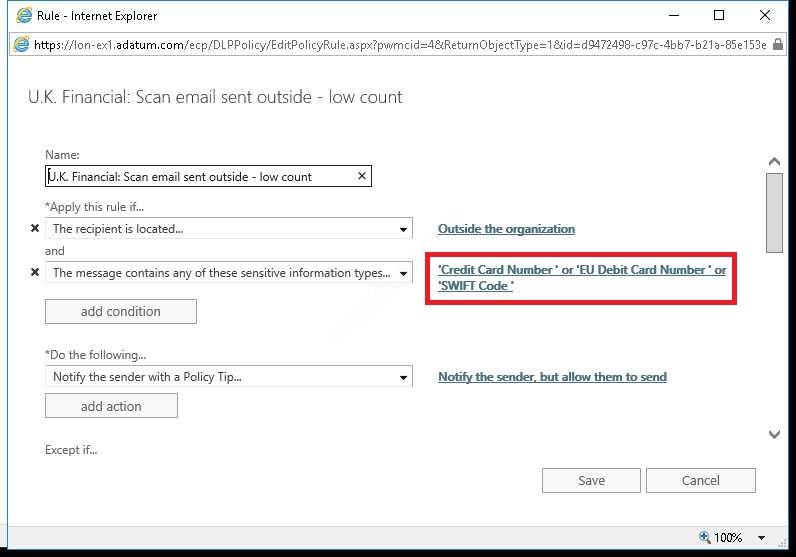
6. Đọc minimum và maximum count yêu cầu của loại dữ liệu để kích hoạt rule, ấn Cancel
7. Cửa sổ U.K. Financial: Scan email send outside – low count, ấn Cancel
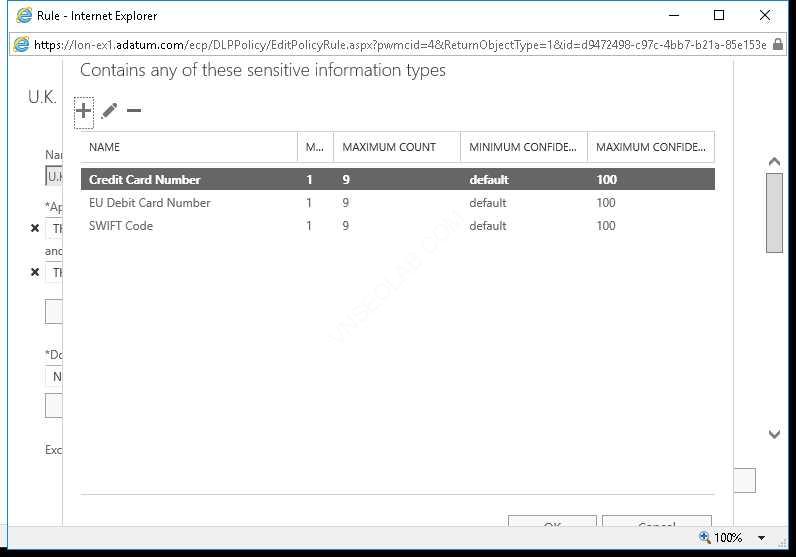
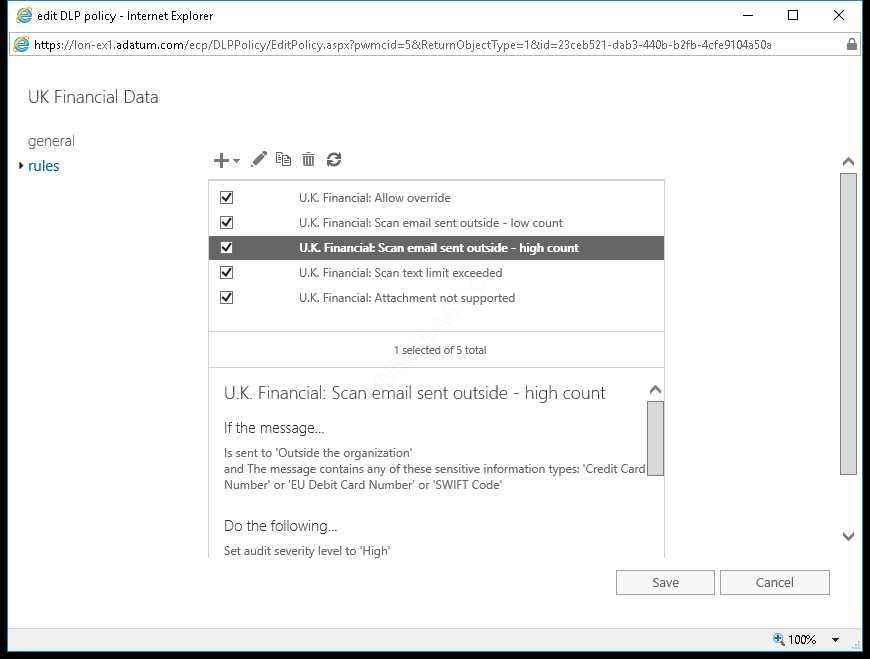
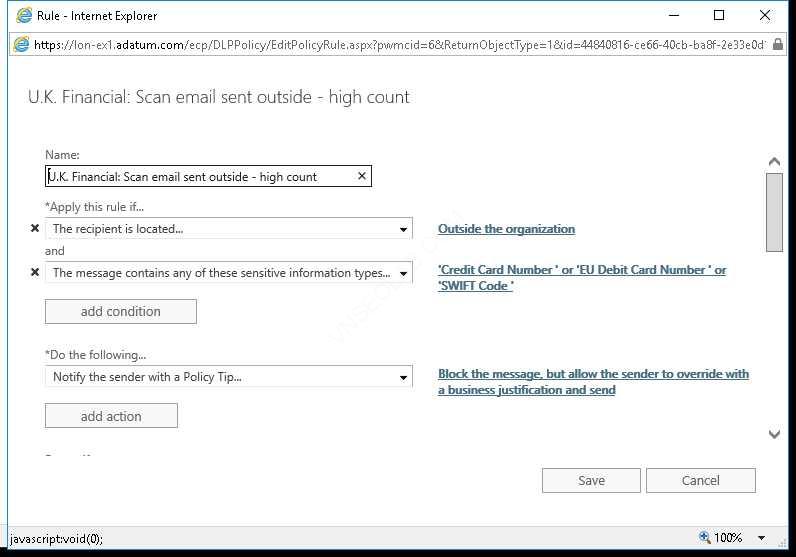
8. Double-click U.K. Financial: Scan email sent outside – high count.
9. Cửa sổ U.K. Financial: Scan email send outside – high count, chọn ‘Credit Card Number’ or ‘EU Debit Card Number’ or ‘SWIFT Code’.
10. Đọc minimum và maximum count yêu cầu của loại dữ liệu để kích hoạt rule, ấn Cancel
11. Cửa sổ U.K. Financial: Scan email send outside – high count, ấn Cancel
12. Cửa sổ UK Financial Data window, ấn Cancel.
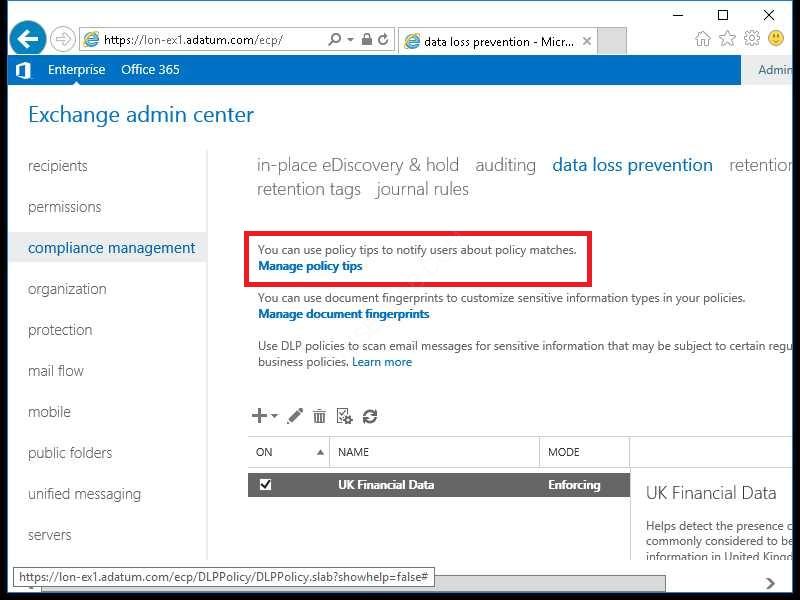
Task 3: Cấu hình policy tip
- Tại Exchange Admin Center, chọn tab data loss prevention, chọn Manage policy tips
2. Cửa sổ Policy Tips, ấn Add (+)
3. Trong phần Policy Tip, chọn Notify the sender
4. Trong phần Locale, chọn English.
5. Trong phần Text, nhập vào This message is not compliant with company policy, ấn Save
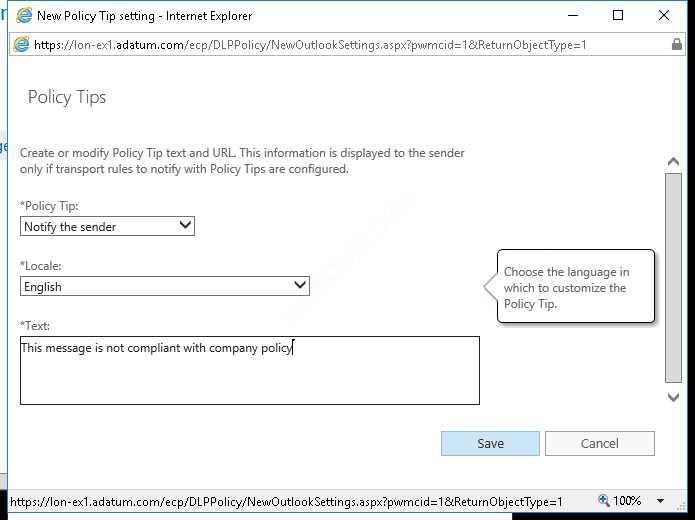
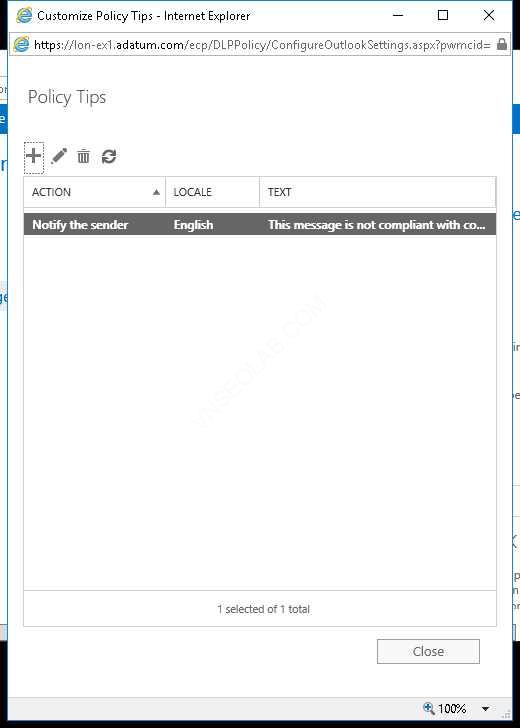
6. Màn hình Policy Tips, ấn Close
Task 4: Kiểm tra DLP policy cho financial data
- Trên CL1, đăng nhập vào user Adatum\abby
- Vào Start, gõ Outlook, chọn Outlook.
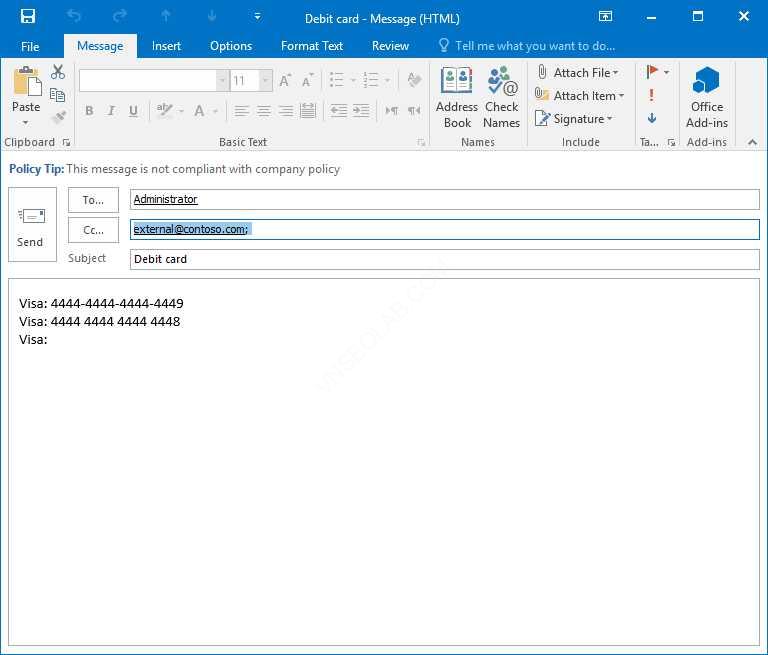
- Tại Outlook, ấn New Email
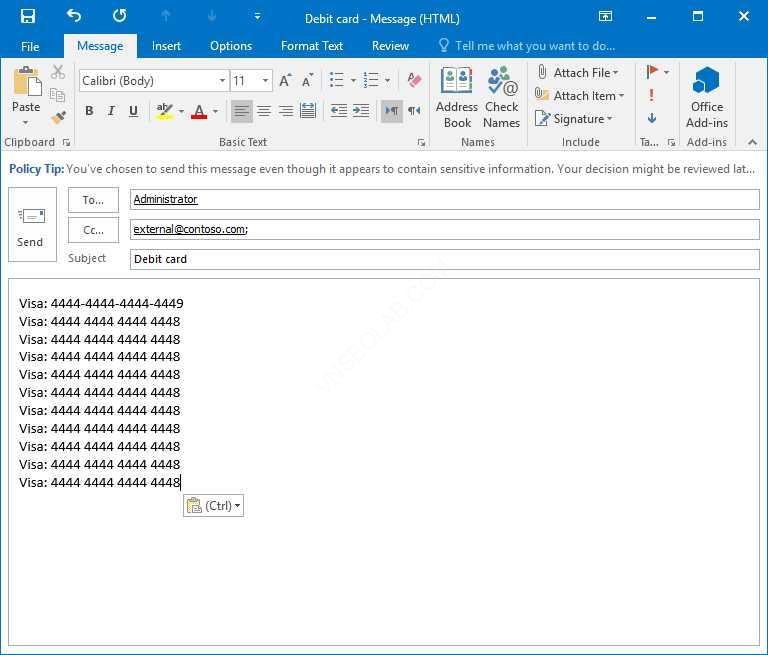
- Cửa sổ new message, dòng To nhập vào external@contoso.com
- Trong phần Subject nhập Credit Info
- Trong phần nội dung mail nhập vào Visa: 4444 4444 4444 4448, ấn Enter
- Chờ vài phút sẽ thấy Policy Tip hiện ra, đọc nội dung Policy Tip
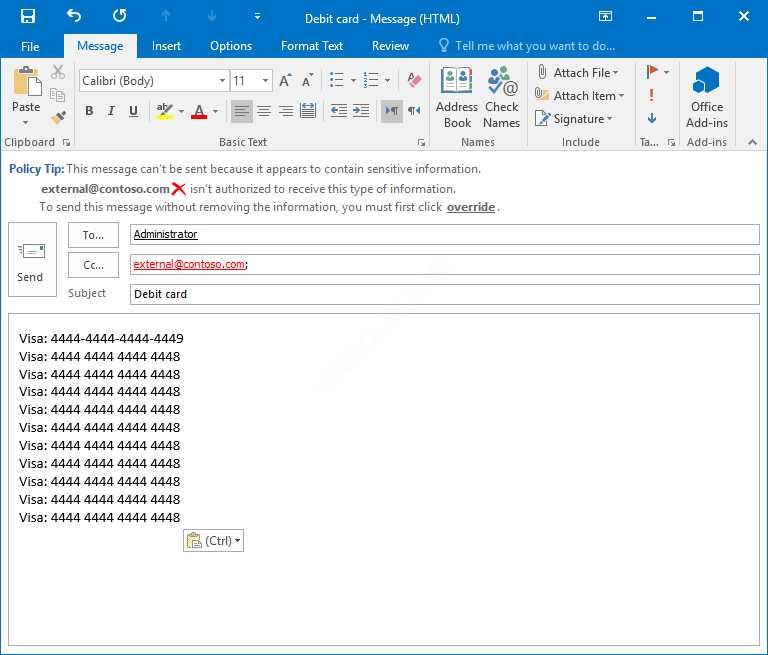
8. Copy nội dung trong phần body và paste 10 lần.
9. Chờ vài chút sẽ thấy Policy Tip thay đổi, đọc nội dung Policy tip.
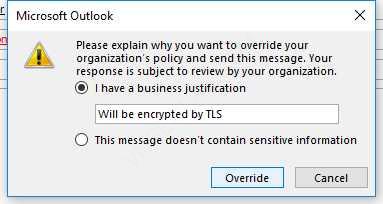
10. ấn Override.
11. Cửa sổ Microsoft Outlook, chọn option I have a business justification và nhập vào Will be encrypted by TLS, ấn Override.
12. Xem lại Policy Tip đã thay đổi, và ấn Send
13. Đóng Outlook
Hoàn tất bài lab